New Ideas and Improvements

I’ve been working hard this fall to make ornaments to fill up my Etsy shop. I’m happy to have sold a good amount and to have rented more and more shop time. Now that Christmas is approaching I’ve been trying to develop new products for my shop that I can sell once ornaments season ends. One of my biggest challenges when it comes to making and selling is continuing to do so once the holiday rush is over. Last year I developed a line of vases but got caught up in moving and never got a chance to make more.

This year I’m working on a series of small and simple bud vases. I’m still drawn to bright solid colors but and am aiming for a more simple look. I’m also hoping to design some tumblers and experiment more with using cane.

hand blown glass vases purple blue ridges bud vase

These bud vases measure only about 4 inches tall and will hold a small flower (or sprig of holly if that’s what you have).

blown glass bud vase

blown glass bud vase

When is started making ornaments last year I realized I was out of practice and hadn’t quite gotten the hang of making ornaments that didn’t weigh a lot. I didn’t practice ornaments much in college so I spent a lot of time getting better at making them last fall. I dug out one of the first ornaments I made when I started a year ago and weighed it to see it was a beefy 4.5 ounces. I was really proud last year when I was able to get my ornaments down to around 3 ounces consistently, which is pretty nice and light. I got my most recent batch of ornaments out of the annealer yesterday and found that this year they’re even lighter, most weighing only a bit over an ounce! On the bottom is a picture of one of my first ornaments from last year and one of my most recent ones this year. What a difference a year and some practice makes!

img_7292

It’s not too hard to see why the one on the left weighs so much more. Luckily I’ve gotten much better at making lighter hooks.

Advertisement

Merry Making

Since I last posted I’ve moved, spent months growing my vintage business and am back into blowing glass regularly. The recent finds section of this blog has made a move to my new blog all about collecting vintage: Ambassador of Grooviness.

This fall I helped my old college glass group with their annual pumpkin sale and made some pumpkins to sell. I made several with this beautiful amber color that I have. When blown out on the pumpkin body it becomes this light amber color but stays a rich brown color on the stems.

blown glass pumpkins brown orange amber curly stems

But of course it wouldn’t be fall without making lots of simple orange and green pumpkins.

blown glass pumpkins orange green curly stems

I’m planning on starting earlier next year and making pumpkins in the spring or summer. I’ve always done well with seasonal items and am planning on filling my Etsy shop up with pumpkins before next fall.

When I started making ornaments again I was excited to find a box of glass color I’d completely forgotten about! Sometime before I moved last year I ordered some beautiful colors, boxed them up and completely lost track of them. I had a great time mixing colors (mostly transparent colors under white) to see how they’d look made into ornaments. I have a variety of ornaments available in my Etsy shop.

colorful hand blown glass christmas ornaments

colorful hand blown glass christmas ornaments


Inspired Vases


IMG_5858

After making ornaments and selling enough to pay for my shop time, I was really keen on designing more things to make and sell. Lately I’ve been interested in vintage, 50s and 60s style glassware (think Blenko, Pilgrim, Viking). I’ve been buying some to resell and just love the simple designs and bold colors most designs have. I checked out a few books from the library and have been researching some to find inspiration.

I had some ideas in mind for small vases I’d like to make but wanted to add some elements that would make them more unique. I decided to try crackling and pinching to add some flair to these designs. I ordered glass color a few weeks ago to use for this project. The colors I chose were mostly jewel tones. Some of them turned out better than others the first time I used them, so I have some ideas for what to change next time I go into the hot shop.


IMG_5863

Pinched vases

These pieces and more are available on Madeline Steimle Art on Etsy

WORK IN PROGRESS: PUTZ HOUSE ORNAMENTS UPDATE

So tonight I got to try out the mold I made to blow my glass putz houses. I didn’t expect it to work out on the first try  but was pleasantly surprised that my plan worked! I’ve still got some tweaking to do to the design but am very excited with how the first few turned out.

After pouring a wax of the original model I made a two part plaster mold that I could blow into.

IMG_2449

This pretty little piece of plaster coated inside with graphite is one half of the two part mold I blew into to make the house.

I tried the design in clear a few times. When my first attempts come out the annealer I can start to plan what to do differently to the finished pieces. As is the nature of glass the house ended up a bit more rounded than the original model. I like the effect but might try and find ways to make the angles of the roof show up better. I also need to decide what colors I plan to make the finished pieces in.

IMG_2447

Work in Progress: Putz House Ornaments

So in an effort to begin making more production glass I’ve started designing some ornaments. I’ve been interested in putz houses since last winter when I found a few and made a few more out of cardboard (I posted about that last year here.. They seem to have stayed pretty popular throughout the years and I bet they’d make great ornaments. I drew up a quick design in SketchUp of a simple putz house to print and take a mold of. I’ll take a plaster blow mold of it and see if I can make some blown glass ornaments using that mold. It’s going to be tricky because I’ll have to cut it off the pipe on the top edge of the roof and I’m worried about keeping the shape. When I get a chance to blow into the mold I make with this design, I might end up changing the design.

house

I ordered lagoon, copper ruby and off-white glass color to make the ornaments with and printed a model of my house the other day. The 3D printed model is only needed long enough for me to talk a flexible silicone mold that I can pour wax into. I’ll use a lost wax process to make my final mold which will be made of plaster.

IMG_2048

To take a flexible silicone mold I use clear Silicone that you find at the hardware store. It’s a cheap and easy way to make a mold of many things. It picks up good detail too. To make the mold I spray the model with mold release then build up one thin layer with the silicone. Once that’s dry I add 2 or 3 thicker layers, a blob at a time. The way I was taught to do this involves squiring each blob out into a cup of soapy water and folding it around to wash out the chemical that extends the set time, making the curing process quicker. When this is set up in a few hours I’ll pop out the model, pour in wax and have a wax model I can use to make my final mold.

IMG_2221

Pumpkin Season

IMG_1977

Every fall for the last 5 years or so I’ve made glass pumpkins. In college I made them as part of the glass department’s pumpkin sale/fundraiser and since then I’ve made them at another glass studio that runs a pumpkin sale. This fall I got invited back to my old college to help with their pumpkin sale in exchange for making some of my own to sell. It was a very rewarding experience. Not only did I get to make a lot of pumpkins and have fun in the process but I was able to talk to and share ideas with a lot of other creative minded people. Making pumpkins 6 hours+ a day for 2 weeks really made me think seriously about doing more production. I’ve been selling online but haven’t done much in the way of selling my own work since college. Since I’ve moved I’m only a few blocks from a public glass studio where I can rent time and I’m already thinking of things I can make and sell. I’ve sold out of all the pumpkins I’d made, so unfortunately I won’t likely have any for sale on Etsy this year. Though I am designing some Christmas ornaments that I’d like to start making and listing soon. Keep an eye on MadelineSteimleArt on Etsy and see how they turn out.

Converging Media Art Show

This fall after moving to Indianapolis I got the opportunity to organize an art show. I’ve shown a few times since I got out of college, but never more than a few pieces and certainly not at a show I put together. To make the show better I invited 3 other artists who also work in glass or metal. From the show statement:

“Converging Media is about mixing media and techniques in unique ways to discover new ways of making. In this show steel meets glass, glass meets plastic, and metal meets paper. 3D printing is used alongside casting, and glassblowing is
integrated with metalworking.”

Since the show came together in about 2 months time, we were each able make a few new pieces to show alongside older work. In all there were about 15 pieces. Before the show we made pedestals, wrote a statement for the show, made postcards and advertised. Installing a show in a gallery downtown in a big city was a much different experience than any art show I’ve done in the past. All in all it was well worth it and it’s something I look forward to doing again.

My Adventures in 3D Printing

Coming of age in a new millennium, I’ve always been in pursuit of instant gratification.  I can remember the first time I saw a 3D printer, or at least a video of one, was in a drafting class I took in high school (about 2005).  I was instantly in love with the idea.  It was like a tiny instant gratification machine.  It seemed perfect.  You wanted something, you made it.

Sometime in the last few years, Jason began researching 3D printers and decided our house needed one. I loved the idea but knew nothing about 3D modelling or machinery.  I asked him to teach me, but with a full course load and a job, he had no time.  He showed me where to download Sketchup and showed me a few basic functions.  After that everything I asked was met with the answer “figure it out yourself”.  I thought this seemed harsh at the time, but realized, months later, when I was designing and printing on my own, that he simply knew I would take those words as a challenge.  As it turns out with the free software Sketchup, there are a wealth of tutorials online.  I spent many hours reading tutorials and asking advice in online forums.

Our Solidoodle 3 came for Christmas, assembled, and in a big cardboard box marked “Solidoodle”.  We were a little put out that the mail man just put it on the porch and walked away without ringing.  Luckily none of the neighborhood kids thought it would be useful enough to steal off of our porch.  It took a little bit of setting up, but we were printing the first night we unboxed it.  I started learning to work the machine and cut my teeth designing and printing smart phone dummies (again, thinking about how often I let my cell phone act as an instant gratification machine).  They were relatively simple to design and wouldn’t take much time to print.  Still, my results were quite rocky at first.

026

Progression of failed prints

As it turns out, our several hundred dollar instant gratification machine worked better as an unending frustration machine.  As simple as the design really is (heating up plastic and layering it on a heated bed) there were a million things to go wrong.  As many times as I was able to print successfully, there were whole days where we could barely get the machine to do more than shoot spaghetti-like strands of plastic from the seams in the extruder.  So we ended up breaking a few parts, replacing them with better pieces, modding the printer to work better and crying with joy every time we could get it to run for a few days without problems.  Over the course of the winter we took the entire printer apart and reassembled it, reconnecting wires with ease.  This was my introductory course to machinery.

phone city in progress (2)

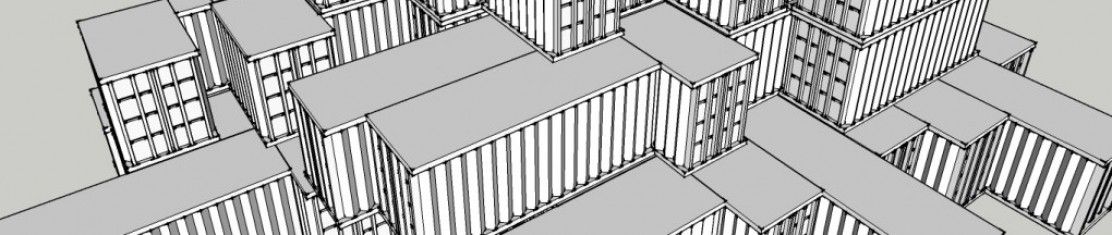
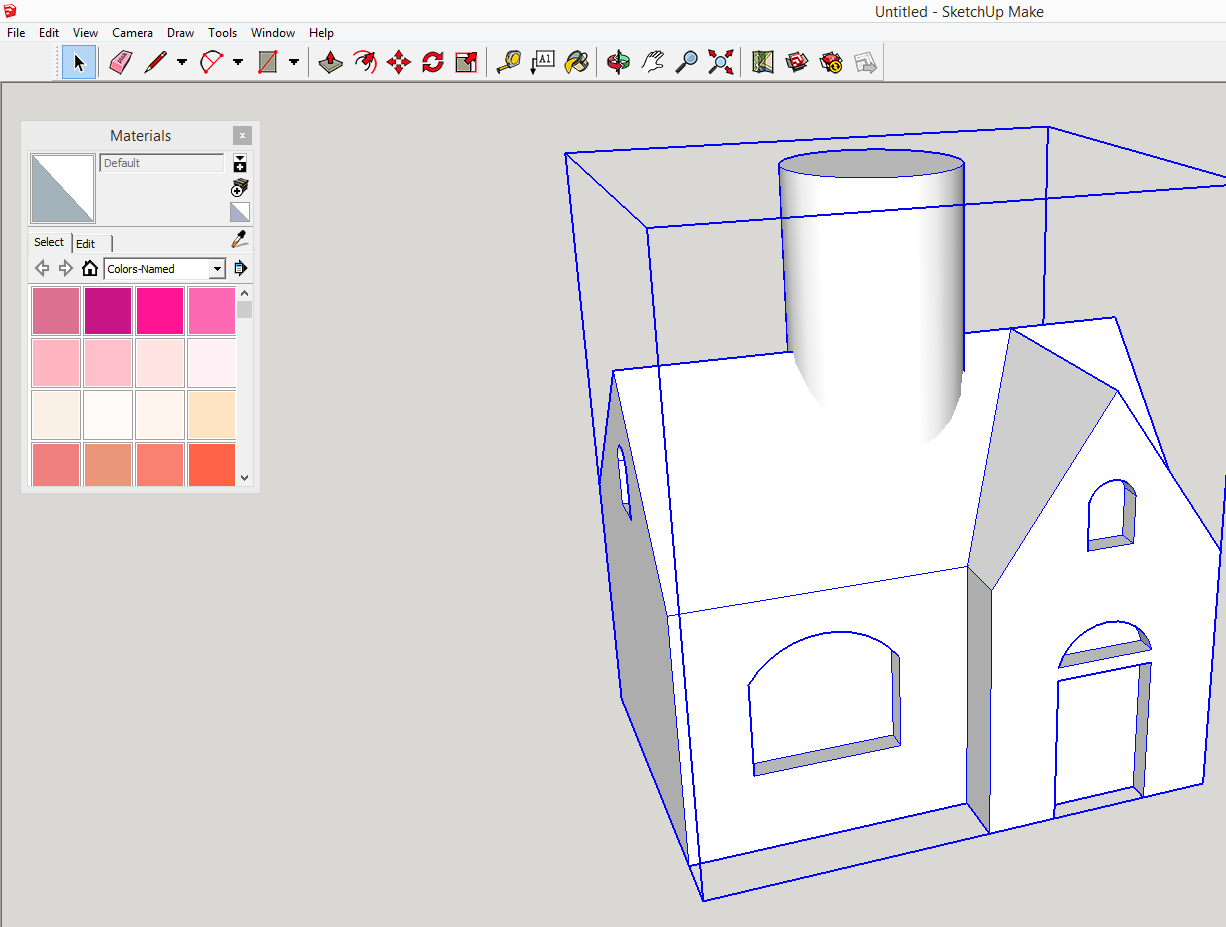
3D model made using Sketchup

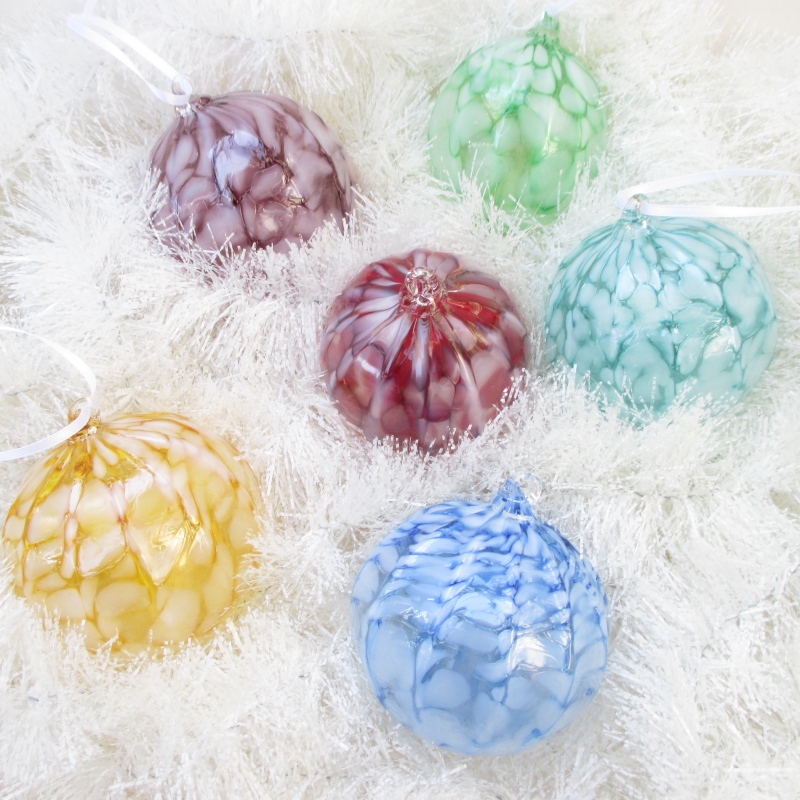
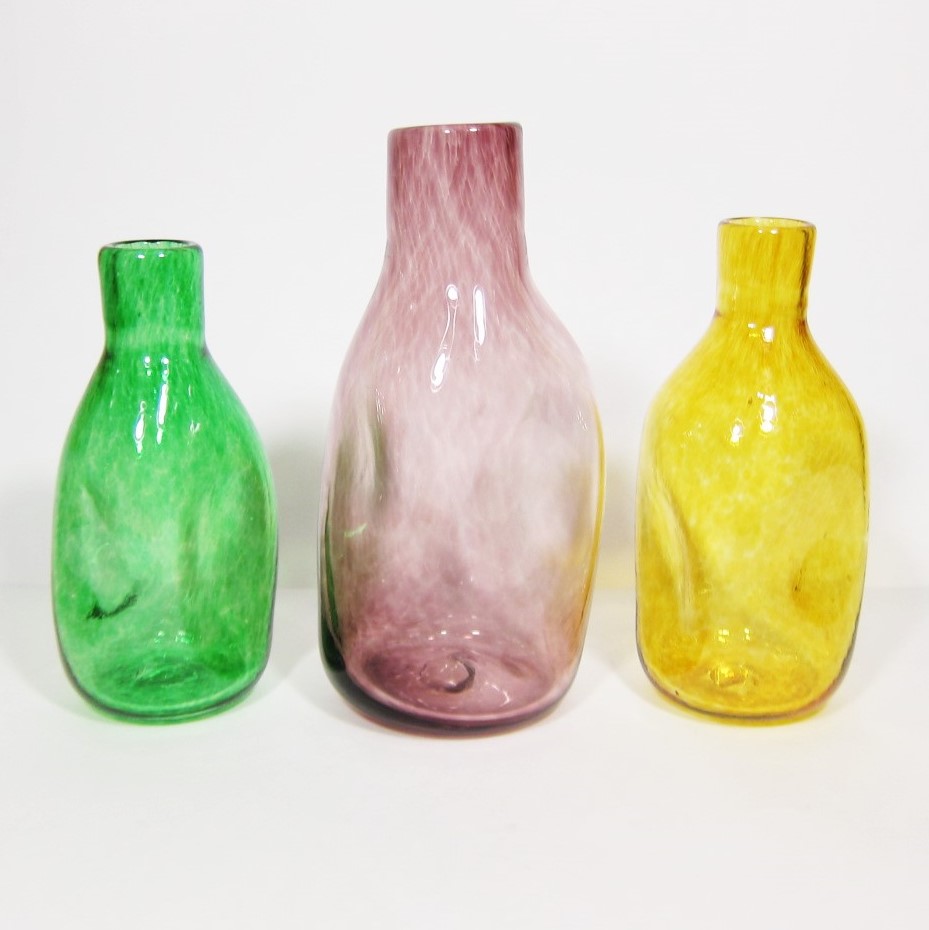
While it still had problems frequently, we were then better able to address them.  My experiment printing dummy phones turned into a few planned art pieces that would combine the plastic dummy phones with glass cast inserts in the shape of crowded city tenements.  I found that printing models to cast was a great use of the new machine.  Before, if I wanted to cast something, I’d have to carve the item out of wax first.  This process is effective, but would be ridiculously time consuming to make something as detailed as a tiny model city.

IMG_20140209_163220_039

ABS 3D printed models, wax model and cast glass pieces

At the time, I’d been reading a lot of dystopian novels and was thinking about the cultural extremes that exist today.  My model cities, made up of clustered tenements would be juxtaposed against the height of new technology: the smart phone.  I was finishing up a residency after graduating college and had access to kilns and supplies, so while I was more exciting about 3D printing than anything, I knew it’d be a good idea to combine the two materials.  I printed the phones and the models for the glass pieces. Those models I would make molds of, pour waxes and then use a lost wax casting technique to cast the glass pieces I needed.  In contrast to the rocky time I’d had 3D printing them, I was able to cast 4 glass pieces successfully on the first try.

Use_1

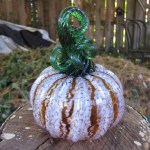
“Dystopia” finished project

After almost a year of 3D printing, I’ve learned a lot of things:

  • There is no such thing as instant gratification, when it comes to making
  • Even someone with no experience can learn to 3D model, print and tinker
  • There are individuals all over the world using new technology to develop new ideas
  • The amount of new advances in 3D printing technology is utterly overwhelming
  • A 3D printer is just as likely to jam, sputter and malfunction as any temperamental inkjet printer
  • If you know where to look, you can find an answer to just about anything online
  • Hairspray is a wonderfully versatile art supply

At the moment I have a few more glass castings I’m working to finish up and incorporate into an installation.  I’ve got another project involving the 3D printer that I’m very excited to start work on.  In the next few days I plan to start fixing the 3D printer again (after the thermister has wriggled loose yet another time).   I’ll be posting updates as I fix, modify and likely cry over our little art-making machine.  I’d love to hear your thoughts on 3D printing and any of its possible art-related uses.