Cat Whale Sewing Project

IMG_0958

So we recently adopted two adorable kitties. They’ve settled in pretty well but while they were still getting used to our house I decided to make them this bed to hide in. I’d seen a shark shaped cat bed on Amazon but was dismayed that the reviews said it only fit small cats. So, I found a pattern on Ebay that made a fish shaped cat bed. I was originally going to turn it into a shark but decided a whale would be better.

I used this pattern, some blue twill and cotton, stiff interfacing, poly fill and large googly eyes to make this beast of a cat bed. Yes, you can buy 5 inch googly eyes. Isn’t it a wonderful world? I deviated some from the pattern by omitting the top top fin, using googly eyes and using interfacing rather than foam. I broke about 10 needles trying to sew through all that interfacing and my cats have never once used their new whale shaped bed, but I’m still pleased with the outcome. I finished this project a few weeks ago and it seems my cats still prefer sleeping on the 50 cent carpet remnants I dragged home from a yard sale.

IMG_0999

IMG_1601

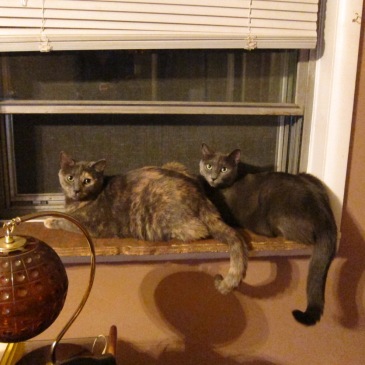
Alice and Hilda have no use for your fancy handmade cat bed!

Work in Progress: Putz House Ornaments

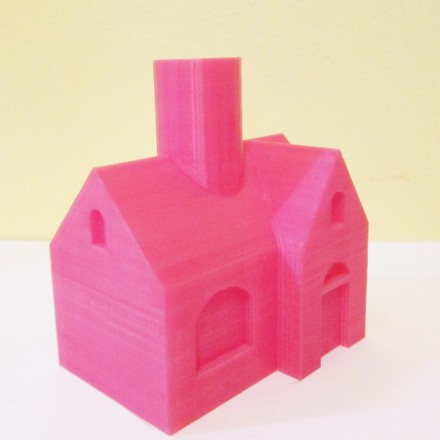
So in an effort to begin making more production glass I’ve started designing some ornaments. I’ve been interested in putz houses since last winter when I found a few and made a few more out of cardboard (I posted about that last year here.. They seem to have stayed pretty popular throughout the years and I bet they’d make great ornaments. I drew up a quick design in SketchUp of a simple putz house to print and take a mold of. I’ll take a plaster blow mold of it and see if I can make some blown glass ornaments using that mold. It’s going to be tricky because I’ll have to cut it off the pipe on the top edge of the roof and I’m worried about keeping the shape. When I get a chance to blow into the mold I make with this design, I might end up changing the design.

house

I ordered lagoon, copper ruby and off-white glass color to make the ornaments with and printed a model of my house the other day. The 3D printed model is only needed long enough for me to talk a flexible silicone mold that I can pour wax into. I’ll use a lost wax process to make my final mold which will be made of plaster.

IMG_2048

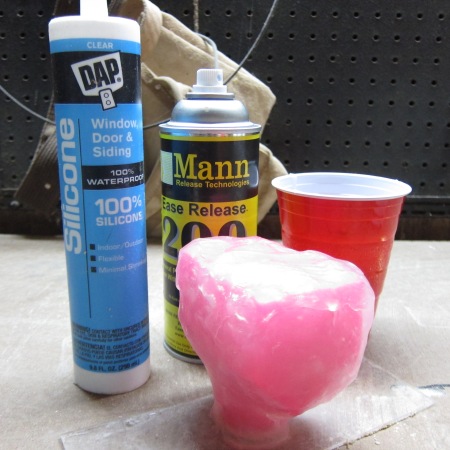
To take a flexible silicone mold I use clear Silicone that you find at the hardware store. It’s a cheap and easy way to make a mold of many things. It picks up good detail too. To make the mold I spray the model with mold release then build up one thin layer with the silicone. Once that’s dry I add 2 or 3 thicker layers, a blob at a time. The way I was taught to do this involves squiring each blob out into a cup of soapy water and folding it around to wash out the chemical that extends the set time, making the curing process quicker. When this is set up in a few hours I’ll pop out the model, pour in wax and have a wax model I can use to make my final mold.

IMG_2221

Antique Store Chair Makeover

I’ve wanted a vintage wire frame chair for a while now, but gave up on finding one and bought a lounger instead. The other night at an auction I saw a wire chair that looked exactly like what I’d wanted, but unfortunately, it’d already sold. I was pretty dissapointed but took a picture of it anyway, thinking I might find one in the future. Lo and behold, not a week later I found the same exact chair (only with hideous green velvet cushions rather than black leather) at an antique store. I swiftly carried it upstairs from the basement and bought it. My mom, whom I was with at the time and Jason, who saw it get dragged into our house both agreed it was hideous, but I saw potential.

IMG_20150314_130120_430

I don’t have a lot of time right now to make it look the way I want, so I just did a few quick changes.

IMG_5475 IMG_5487

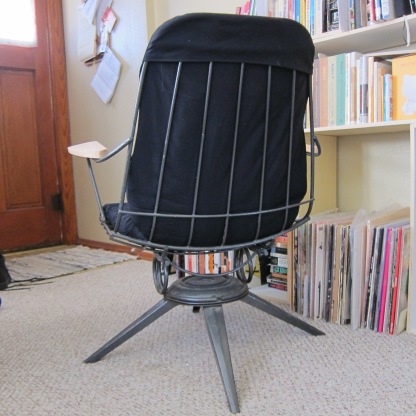
Since that metal parts of the chair are still in great shape, I just changed the arm rests and made a slipcover for the cushions. I sewed both of the cushions together in the middle to make one, then laid it out on a piece of black cotton fabric I already had. I then traced around the cushions with tailors chalk to make a template and sewed the two pieces of black cotton together for a quick slipcover. I made a small pocket on the back so the cover and cushions could just rest over the wire on the back. For the arms I cut out new arm rests from cedar and plan to eventually sand, route and stain them. If I end up keeping the chair for a while I would like to make a more sleek cushion from black vinyl or leather, but at least for now it looks good enough to keep around.

The chair was likely made by Homecrest as an indoor/outdoor piece. The Minnesota based company still makes furniture today and has a page on their website talking about the “vintage wire” collection. A lot of the ones I’ve seen were used as patio chairs but others with leather or vinyl cushions seem to look good indoors. Since I didn’t really have room for it, I’m using it to replace my computer chair. With its sturdy steel and enamel design and comfortable swivel and rocking motions, it should be functional and comfortable for many years.

Christmas Gift Update

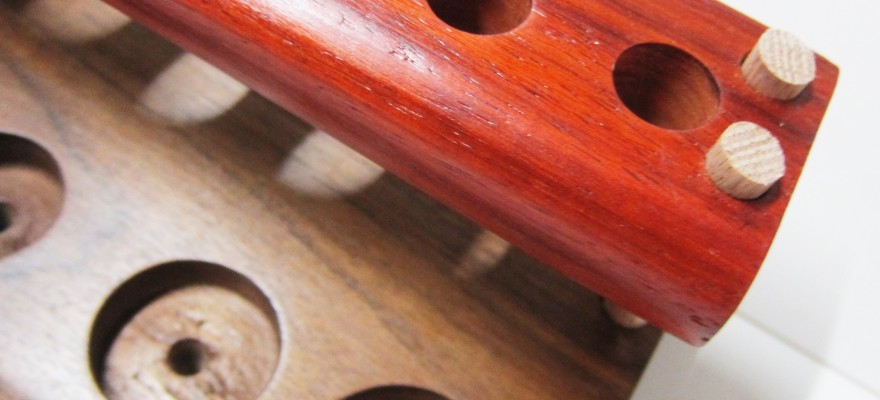
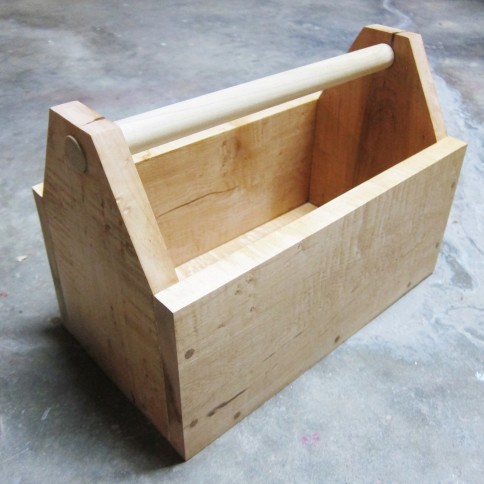
This Christmas was the first year in along time that I’ve had the time to make some nice presents for my family. After a trip to the local wood shop I began my first attempts at working with hardwoods. I’ve done woodworking before but it’s always been for larger items made with pine or plywood.  The three projects I made were two stands to hold a vaporizor and e-juice, and a toolbox.  I used padauk, birdseye maple and walnut.

The two stands I made were pretty challenging, as I didn’t realize just how much time it would take to drill holes in 1″ lumber with a handheld drill.  I think the project would’ve gone smoother and turned out better had I used a drill press.  This was also the first time I’ve made a project that’s only held together with glue.

The toolbox I made was quite fun. It was challenging to put together as the wood I bought turned out to be a bit warped. I bought a block plane to even out the sides of the wood, but soon realized that birdseye maple is about the hardest thing to plane.

IMG_2335

Handmade Winter Wardrobe Additions

So I started a capsule wardrobe a few weeks ago, made up of 40 items that I’ll wear all fall and then switch out with some new items for winter.  I thought that paring down my wardrobe would give me added incentive to sew, because I have a bad habit of making things and then never wearing them.  Knowing that they have to go into a small rotation or 40 things should make me more mindful in drafting up clothes that are practical and well made.

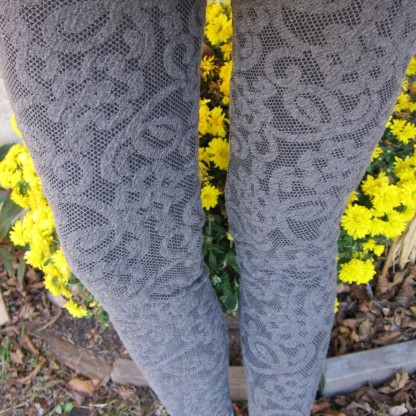
I have a wonderful pattern for leggings that I’ve used a few times (McCall’s M6173).  I raised the waistline a bit and cut them down some from what the pattern called for.  The fabric I used for these is a cozy woven cotton blend stretch fabric with gray designs on a black background.

IMG_9773

I also finally got around to finishing a skirt I started almost a year ago.  I made it after seeing a cable knit skirt for sale that I knew I could never afford.  I went thrifting and found an old sweater that I cut up and made into a warm skirt for winter.  I used some scrap fabric from the leggings to make the waistband, because the sweater scraps had too much stretch to serve as a good waistband.IMG_0147

I have a few more projects in the works that I’ll post later as I get more work done. The first project I’ve already started is a pair of work pants that will be lined in flannel. I’m modifying a pattern I’ve had since about 2007 when low-rise jeans were all the rage.  I don’t know if modifying this to my current tastes will be too difficult or not.  I’ll be making the pockets bigger, adding a few more utility pockets, reinforcing the knees and sneaking in a flannel lining.  I never find pants that fit and last for more than a year, so I’m hoping to get better at sewing pants and just start making all of mine.

How I Spent my Summer Vacation

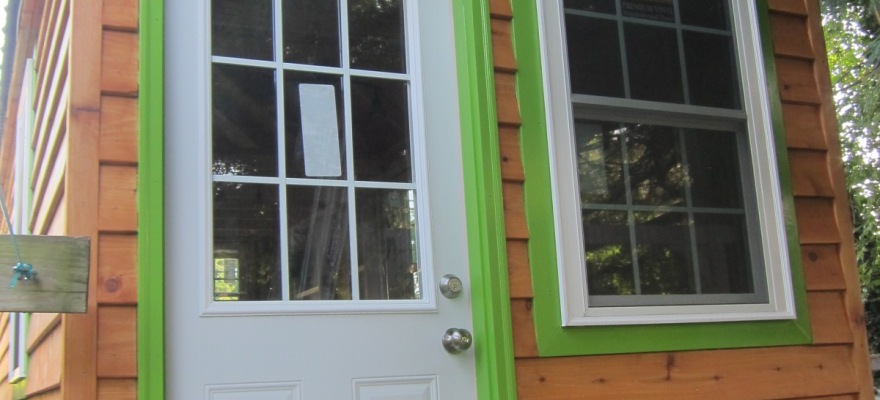
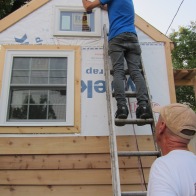
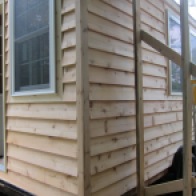
Last year Jason and I had a chance to stay at Caravan, a tiny house hotel in Portland, OR.  For about the cost of a conventional hotel we were able to rent a 120 sq ft. house built on a trailer bed.  The little house had all the amenities you’d expect and all the charm you could ask for.  Shortly after our stay there we became obsessed with tiny houses.  As soon as we got back we told my parents about our stay and they too became tiny house fanatics.  My dad has always loved building with wood, having built the deck, the fence and many other things around my parents’ house.  My mom had always dreamed of having a cabin in the woods.  They both loved the idea of building something small and cost effective.  So they ordered plans and bought a trailer and in the dead of winter started planning.

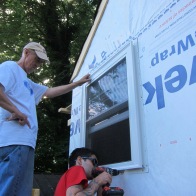
Jason and I volunteered to help on the weekends and I must admit I was a bit overwhelmed by the prospect of building a house.  Throughout the process we’ve met many challenges and gotten a chance to use our problem solving skills.  Still, none of the challenges we met were too big to solve with a little time and research.  I dubbed myself the “project worrier” as I scrutinized everything and watched it fall into place despite my ability to worry and over analyze.  Now it’s October and we’d hoped to have it finished but have still made remarkable progress.  We hope to bring it to the place where we’ll park it in the spring. We still have floor to lay down, cabinets to build and appliances to install.  Until then I’ll be counting down the days and crossing my fingers for the arduous trek through mountains to rest this sweet little cabin its spot in the woods.